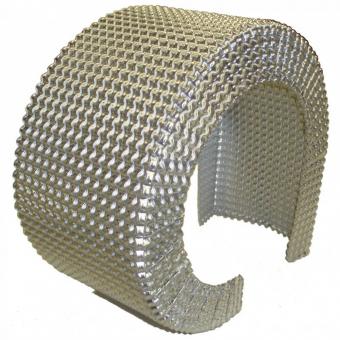
A downpipe blanket can follow the main bend and still leave its closure trapped behind a bracket. A silencer jacket can match the shell diameter while covering a lifting point. These details become expensive when they appear after a production batch has been sewn.
For OEM exhaust insulation blankets, the approved sample should establish the complete installed construction. Coverage, layer materials, seams, openings, fasteners and inspection points all need a recorded reference. This guide explains what to check between the first drawing review and production release.
BSTFLEX manufactures custom removable exhaust insulation blankets for exhaust components. Drawings, component samples and installation photographs help define a project before the sewing pattern is finalised.
Start with the Installed Exhaust Assembly
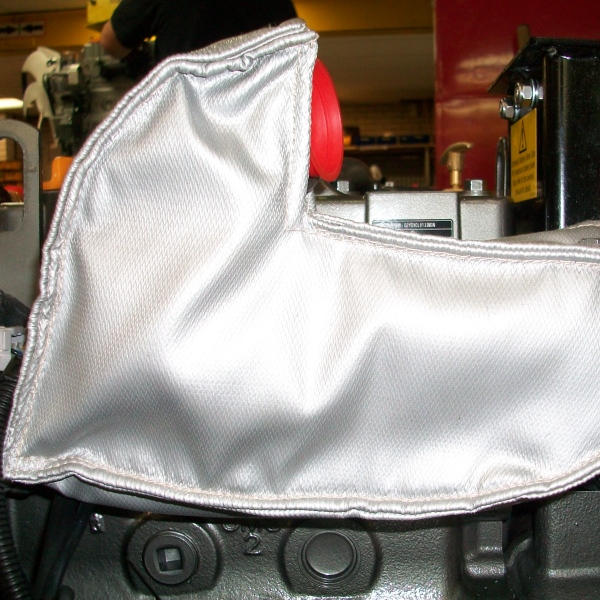
The component drawing establishes the basic shape. An assembly view shows what surrounds it. Supply both where possible, with the exhaust part number, drawing revision, installation orientation and intended coverage clearly marked.
Include sensor bosses, pressure connections, brackets, clamps and nearby panels. Mark the proposed closure side and show the direction from which an installer can reach it. Where the pipe moves with the engine, the layout also needs the movement allowance specified by the equipment designer.
For a thermal downpipe blanket, check the bend, sensor position and clamp access together. On a muffler or exhaust silencer insulation blanket, record shell length, end geometry, pipe offsets and mounting features. These details determine the position of the seams and separate cover sections.
Record the Layer Construction Before Sewing the Approval Sample
A material schedule gives the buyer and manufacturer a common reference. Identify the hot-face layer, insulation core, outer cover, sewing thread, edge binding and fastening hardware. Record the material grade or agreed specification wherever it affects the project.
The hot-face layer is exposed to the component side of the assembly. The core provides insulation thickness. The outer cover faces the surrounding environment and handling conditions. Each part therefore needs its own selection criteria, including temperature exposure, vibration, abrasion and possible fluid contact.
Agree how thickness will be measured. A loose insulation layer, a finished sewn section and an installed section under closure tension may give different readings. State the measurement condition and any agreed tolerance on the inspection document.
When an RFQ uses a term such as titanium fabric, confirm the actual textile and layer specification. A written material description makes repeat orders easier to compare with the approved sample.
Check the Closure with the Sample Installed
A closure needs enough access for installation and later removal. Review the seam position on the assembled equipment, including the space required to engage springs, route lacing wire or secure straps.
Inspect coverage along the full closure. Look for local gaps, folded edges and areas where a fastener pulls the cover away from the component. If the design uses an overlap, record its required position and inspection condition.
For a kit with several sections, agree the installation order. A short elbow cover may need to go on before the adjacent pipe jacket. Identify each piece on the assembly drawing so that the same arrangement can be reproduced during production and service.
Locate Every Sensor Opening and Service Point
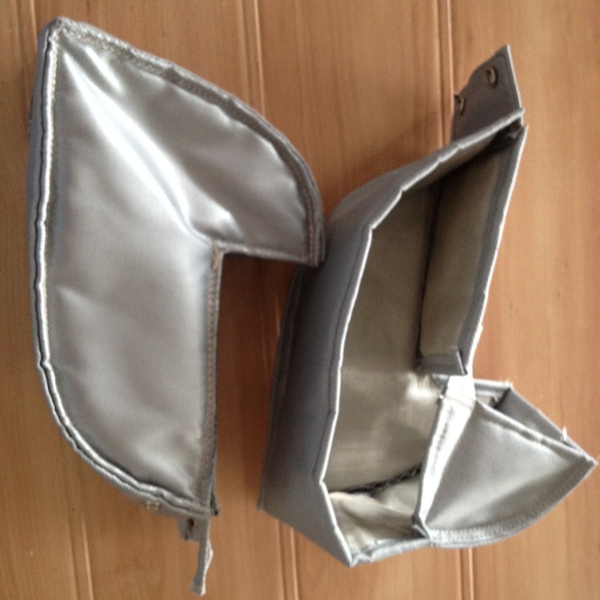
An opening needs a defined location relative to a repeatable reference, such as a flange face or mounting feature. Show its shape, orientation and finished edge detail on the blanket drawing.
Review sensor connectors as well as sensor bodies. A cutout may clear the installed sensor but still prevent its connector from passing through during assembly. Agree whether the sensor remains fitted while the cover is installed and removed.
Pressure lines, clamp screws and inspection points need the same attention. During the fit check, record which parts can be serviced with the blanket in place and which require a particular section to be removed. This record gives maintenance staff a practical installation sequence.
Use a Defined Checklist for Prototype Approval
Trial-fit the prototype on the intended component or an agreed representative fixture. Mark any fixture limitations in the approval record, especially where the fixture omits adjacent equipment or access restrictions.
The following checks provide a starting point. Add project-specific dimensions, tolerances and acceptance conditions before inspection.
| Check | What to Record |
|---|---|
| Identity | Component revision, blanket revision, sample identification and inspection date. |
| Fit and coverage | Covered areas, closure position, overlaps, openings and installed clearances. |
| Sewn construction | Seam locations, edge finish, visible damage, local bunching and agreed workmanship criteria. |
| Hardware | Fastener type, quantity, attachment positions and access after installation. |
| Service access | Removal sequence, sensor access, clamp access and successful reinstallation. |
| Materials | Agreed layer schedule, thread, binding, hardware and required supporting records. |
Photograph the installed sample from several directions. Add close views of closures and service openings. Link each requested correction to a drawing note or sample mark, then check the revised sample against the same list.
Define Thermal Acceptance for the Actual Operating Condition
If the project has an outer-surface temperature target, agree the test conditions before approving thermal performance. Record the exhaust operating state, measurement locations, ambient temperature, airflow and time allowed for stabilisation.
Specify whether the target applies during steady operation, a transient event or shutdown heat soak. Include the measuring method and relevant instrument settings in the test record. These details allow results from different sample revisions to be compared.
Material ratings inform the construction review. Finished-assembly acceptance also depends on geometry, thickness, openings, seams and installation. For engine or aftertreatment applications, confirm the permitted insulation coverage and operating limits with the responsible equipment engineering team.
Release a Repeatable Production Specification
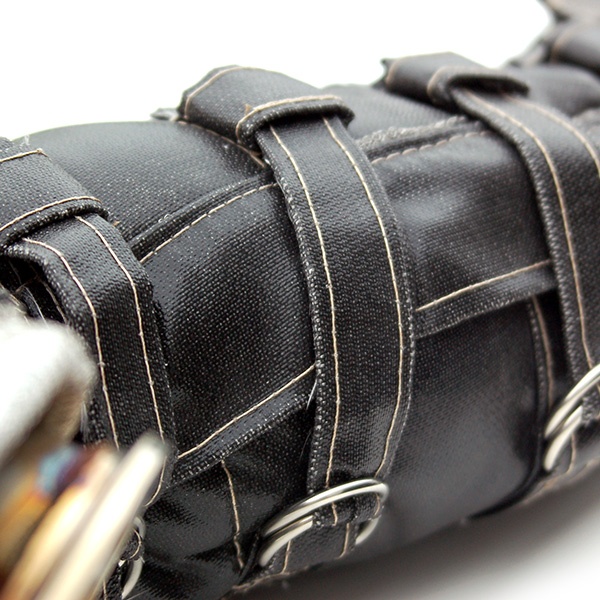
Once the sample is accepted, bring the agreed information into one release record. It should identify the approved drawing revision, layer construction, fasteners, critical dimensions, workmanship requirements and any formally accepted deviations.
Retain an agreed reference sample or a documented sample record. For private-label supply, also approve part identification, kit contents, packaging and customer-facing installation information.
Record changes to materials, patterns, seams, openings or attachment positions against the relevant revision. Agree which changes require another fit check or thermal test. This gives purchasing and production a clear basis for repeat orders.
Send BSTFLEX the Information Needed for a Sample Review
For a custom sewn exhaust blanket project, send the component drawing or sample, assembly photographs, operating conditions, required coverage and available space. Include prototype quantity, expected production quantity and the checks your team will use for approval.
For a complete exhaust assembly, identify each pipe, elbow, manifold and silencer section on the same layout. The BSTFLEX exhaust heat shield insulation range provides related product options for reviewing the scope.
Send your project information to sales@bstflex.com for a construction and quotation review.
Frequently Asked Questions
Can an exhaust blanket be developed from a physical sample?
Yes. A component or existing blanket sample can support development. Include installation photographs, operating conditions and required changes so the review covers the intended application.
What should be approved before ordering production quantities?
Approve the drawing revision, layer construction, fit, coverage, seams, openings, fasteners and inspection criteria. Record thermal acceptance conditions where thermal testing forms part of the project.
Can one sample approve a complete exhaust blanket kit?
A kit approval should cover every distinct section and the installed assembly. Record piece identification, joining overlaps, installation order and access to service points.
What information is needed for an OEM exhaust blanket quotation?
Provide drawings or component dimensions, installation photographs, operating conditions, required coverage, available space, sample and production quantities, and any inspection or documentation requirements.